In this post I will show you how to set your camera to get perfectly blurred photo background every time.
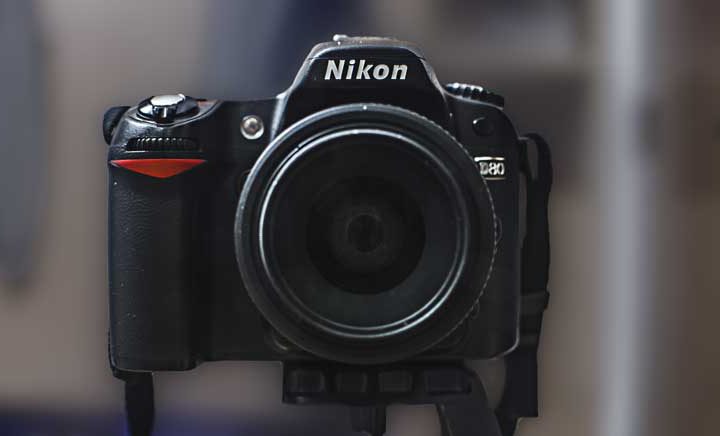
Ideally, you already have a DSLR camera, but a compact or even a phone camera will also work. Once you learn how to set your camera to control your photos background blur, you will have to experiment and see what you like and what you don’t like.
Let’s get started!
What is a BOKEH in photography?
If you are into photography, for sure you’ve heard the term bokeh (with slight variances pronounced boh-kay).
But, what is bokeh?

In short, bokeh refers to how out of focus points of lights are rendered in a photo. So, you might say that the blurred background of a photo is the photo’s bokeh. Keep this in mind, as this is important: blur means out of focus.
If you want to read more about this, there’s an entire Wikipedia page dedicated to bokeh.
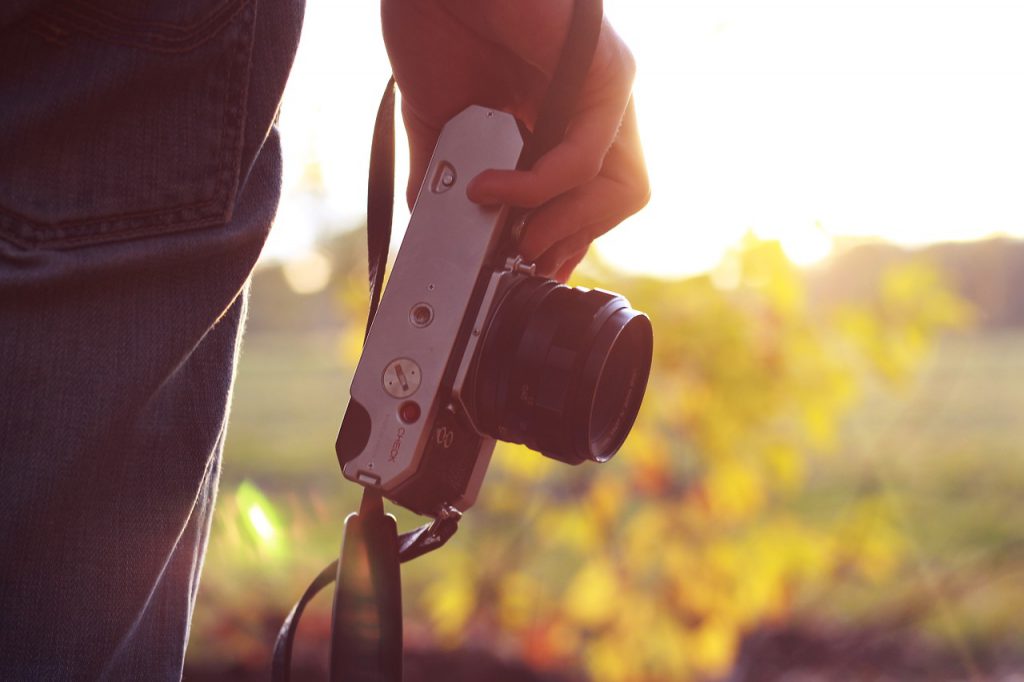
The bokeh effect is very widely used for it’s aesthetic value, especially for portraits. The trick there is to get your subject in focus and the background out of focus, therefore creating a nice separation and drawing attention to your subject.
But more on this below.
Simple bokeh camera settings
If you’ve looked at our bokeh textures examples and other like the great collection of free bokeh lights textures from PSDDude, you are probably wondering:
How can I make my own photo bokeh textures? It’s quite simple, follow these steps:
- Find a subject with lights. Street lights will work or even better a Christmas led light rope. The more sources of light in your frame, the more interesting your bokeh texture will be.
- Set your camera on manual focus and set the focus either to the minimum, or to the maximum.
- Set your aperture to the maximum (lowest f-number) that your lens will allow
- Adjust your shutter speed for a correct exposure
- Shoot!

This will work each and every time. Please note that different lenses will render different bokeh effects.
You can even do this with phone. Most phones today will allow you to go into manual focus mode. If you can do that then it’s just a matter of finding the right subject.
How to set your camera for background bokeh?
When you take a photo, you usually decide on a point of focus. The point of focus will be the point in your photo with the maximum amount of sharpness.
Here’s what you have to know,
There is a distance range from your focus point that will appear in focus, while everything outside of this range will appear out of focus, or blurred. The range that appears in focus is called the depth of field.
It’s easy to control the depth of field, simply by adjusting the f-number (aperture). A lower f-number (wider aperture) will render a narrower depth of field – so more blur in the background of the photo.
A higher f-number (small aperture) will render a less blurry photo background.
Let’s see an example:

For this test I’ve used the following camera, lens and settings:
- Nikon D750 camera
- Fixed focal length 35mm f1.8 lens
- ISO 100
- f/1.8 aperture
- 1/8 sec shutter speed
- no flash
- tripod
- focus set on the nose of the penguin Christmas decoration
- distance from camera to subject: 30cm
Ok, so I got my blurred photo background. But how do we explain it technically?
I set my camera’s f-number to the lowest value this lens has f/1.8. This will give me the narrowest depth of field. There are complex formulas to calculate the exact size of the depth of field that take into account the focal length, distance to subject and aperture, but that’s outside of the scope of this post.
Just to give you an idea, for these settings the depth of field is approximately 7mm. You can see that because the nose of the penguin is in focus, but the tip of the hat is starting to become blurry.
Because I set f/1.8 as aperture, I was able to set a relatively fast shutter speed of 1/8 sec.
Now, to give you an idea on how to control the amount of photo background blur, I will only change the aperture. Making the f-number higher (smaller aperture) means that the sensor of the camera will receive less light, so I will have to compensate to get a good exposure, so I will have to increase the shutter speed.
Let’s see what we get:

Here are the new settings:
- ISO 100
- f/4 aperture
- 5/8 sec shutter speed
- no flash
- tripod
- focus set on the nose of the penguin Christmas decoration
- distance from camera to subject: 30cm
In this case we get a less blurry photo background. The difference is subtle, but it is there. Because we modified the aperture, the depth of field also changed to about 1.5 cm. If you look at the tip of the penguin’s hat you can see that it’s much sharper than before.
Can we take this further?
Sure. Let’s see what happens if we increase the f-number some more:

Here are the new settings:
- ISO 100
- f/16 aperture
- 8 sec shutter speed
- no flash
- tripod
- focus set on the nose of the penguin Christmas decoration
- distance from camera to subject: 30cm
By increasing the f-number to f/16 we have almost no blur in the background. The new depth of field is almost 60cm which is enough to include the snowman in the background of the photo.
Other techniques for getting blurred background photos
So far, we’ve seen how to play with the focus and the aperture to get a blurred background photo.
But there’s more.
Make blurred background photos with motion blur
Did you notice that if you move the camera while taking a shot the image will be blurry? That is called motion blur. You can use motion blur to make create a blurred photo background.
Motion blur – moving subject static background:
- Your subject has to be moving
- Set your shutter speed pretty slow. This depends on many factors (speed of your subject, lens focal length, lighting conditions). I would go with at least 0.5 sec or even 1 sec
- Set your aperture to a low f-number
- Set your ISO setting such that you get a good exposure.
- Set your focus on auto-focus continuous mode
- Take the shot pointing the camera at the subject and following through with the subject’s movement
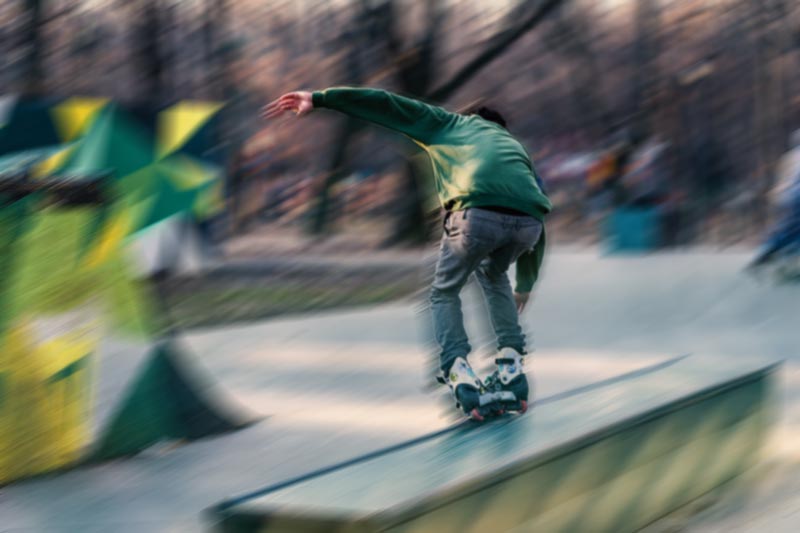
This is a great technique, not only to get a beautiful blurred background, but also send the viewer the feeling of motion.
You can also achieve a similar blurry background effect if you shoot a still subject with a background that is moving (ex. a person in a metro station while the metro is moving behind; a person on the sidewalk with cars moving behind).
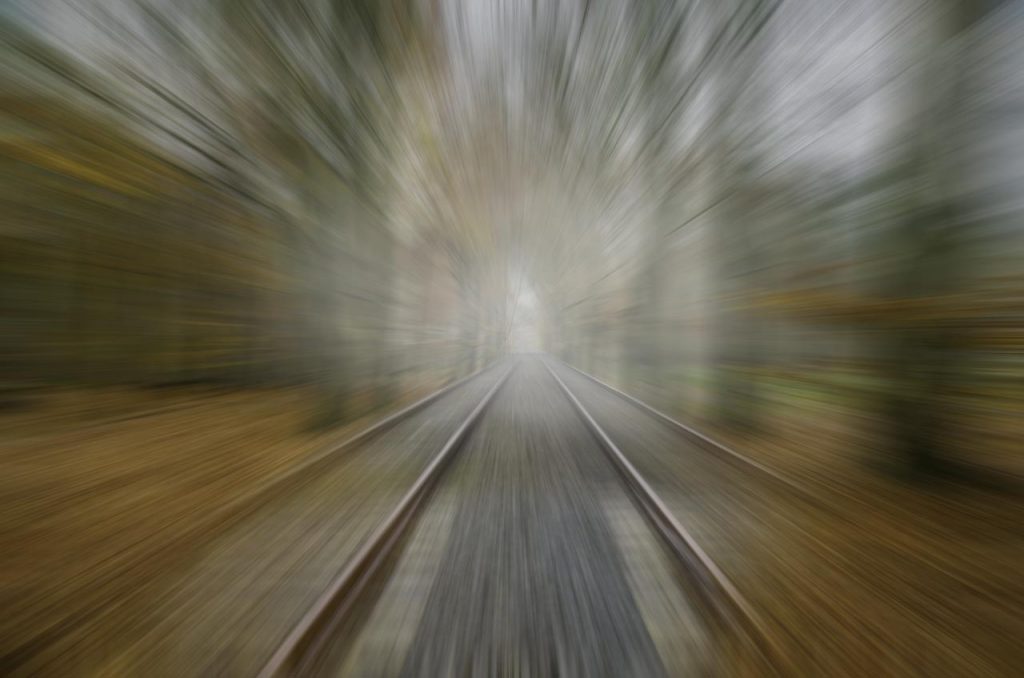
Make blurred photos using zoom blur
This technique will require you use a telephoto lens. Telephoto lenses have adjustable focal lengths which basically means that you can zoom in and zoom out. You can create the so called zoom blur if you zoom in (or out) while taking the shot.
Here’s how to create in-camera zoom blur:
- Position your subject or point of interest right in the center of the frame. Most of the shot will become blurry, so only the center will remain sort of sharp
- Set your shutter speed pretty slow. This depends on many factors (speed of your subject, lens focal length, lighting conditions). I would go with at least 0.5 sec or even 1 sec
- Set your aperture to a low f-number
- Set your ISO setting such that you get a good exposure.
- Set your focus on auto focus single mode. Then focus on the center of the frame.
- Use the zoom controls to go to one end of the zoom range
- While taking the shot use the zoom controls to go to the opposite end of the zoom range.
Depending on the telephoto lens you have the effect will be more or less pronounced. Experiment with this and see what you like best.
Make blurred photos using radial blur
This technique can be made with any camera. Basically you need to rotate the camera while taking the shot. You will have to be careful to point the camera to the center of rotation and not deviate while rotating.
Here’s how to make in-camera radial blur effect:
- Choose a center for your frame and point the camera towards it
- Set your shutter speed pretty slow. This depends on many factors (speed of your subject, lens focal length, lighting conditions). I would go with at least 0.5 sec or even 1 sec
- Set your aperture to a low f-number
- Set your ISO setting such that you get a good exposure.
- Set your focus on auto focus single mode. Then focus on the center of the frame.
- While taking the shot spin the camera around trying to keep the center point in the center of the frame
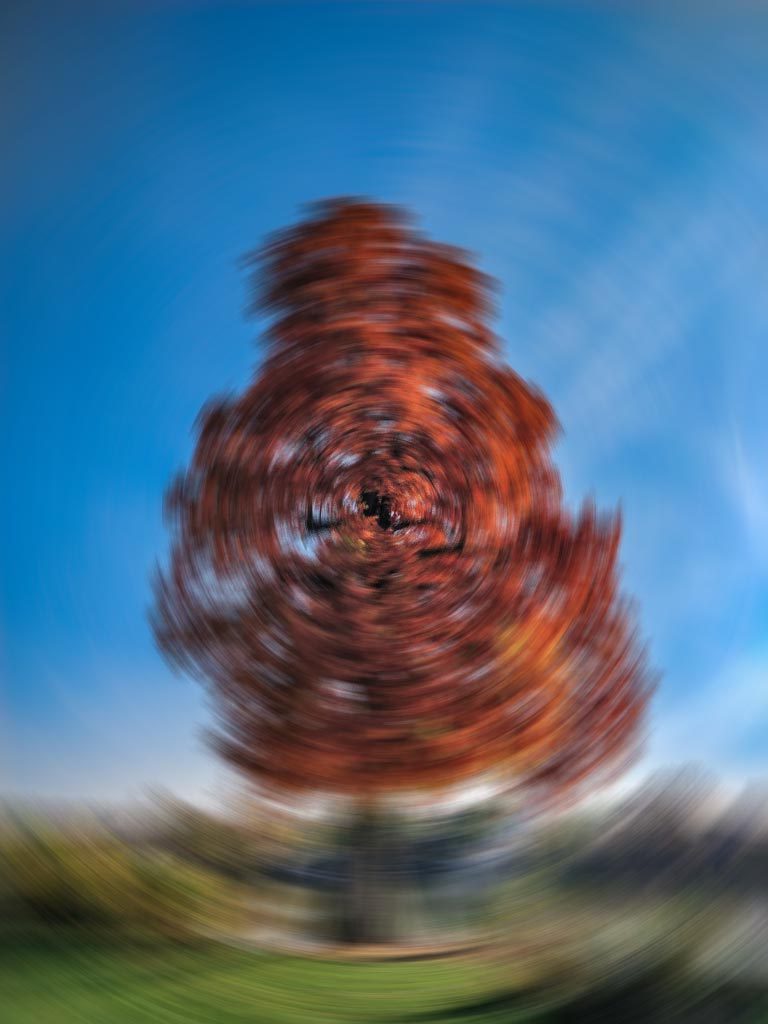
Radial blur is also known as spin blur.
How to blur the background of a photo that I already made?
Blurring the background in photos that you already took can only be done by post-processing the photo.
You can use Lightroom or Photoshop, and the steps are pretty much the same:
- Create a mask for your subject.
- Invert the mask. This will allow you to work only on the background of the photo
- Blur the photo background using any of the blur filters (Gaussian blur is probably the most used blur filter)
If you don’t have too much experience working with Photoshop, I recommend reading this article about how to blur background with Photoshop from PhotoshopSupply. The article also includes a Photoshop action will make the whole process of blurring a photo background much easier.
If you don’t know Photoshop or want to know a easier way to blur a photo background, you can always turn to MockoFun. MockoFun is a free online photo editor and it’s very easy to blur a photo background. Here’s a very detailed article about how to blur photo online with MockoFun.
In Conclusion
There are many ways to create and use blurred background photos. In this post I tried to cover everything you need to know about setting your camera to create the perfect blurred photo background.
If I missed anything, don’t hesitate to drop me a comment below and I will try to respond.